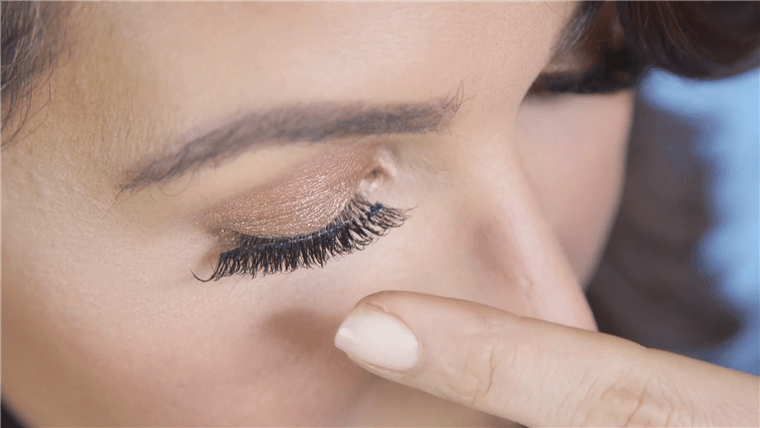
ThinkShow Magnetic Lashes are simple to apply. Just follow this easy step-by-step guide on how to create the fabulous lash look you’ve always wanted.
IMPORTANT DO'S AND DON'TS
DO: Please ensure that your eyelid is free from oil before applying your ThinkShow magnetic eyeliner, this will drastically improve the eyeliner's hold - For oily lids, please cleanse the eye area and ensure it is completely dry.
DO: For best results, apply a non-oil based eye primer. Alternatively, you can dust with powder or use eye shadow as a base.
DON'T: Use an oil based mascara with the false eyelashes.
Please remove the eyeliner and eyelashes fully before going for an MRI scan.
INSTRUCTIONS
Step 1 - Preparation
Make sure your eyelids are clean and free from any oil. You can apply an oil-free primer base or use your eye-shadow before applying the eyeliner.
If needed, trim your Magnetic Lashes from the outer ends to fit your natural eye shape. Click here to shop ThinkShow Lash Scissors.
Roll each lash around your finger for 1 minute. This will help them take shape and will prevent the ends lifting.
If you wish to wear mascara, please apply it before applying your false lashes! This will help you get the most out of them.
Step 2 - Liner Application
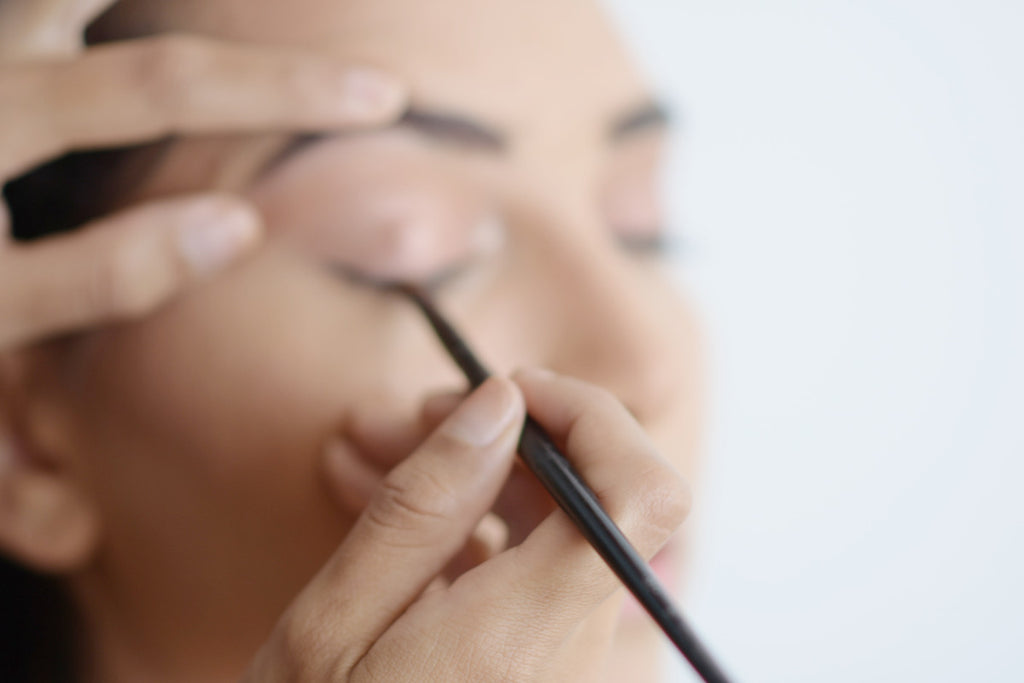
First, gently shake the ThinkShow Magnetic Eyeliner bottle or pen for about ten seconds. This will activate the magnetic liquid liner and prepare it for application.
Tip: Prop your pinky finger on your cheekbone and use it as a tripod for a steady hand application.
- Start by applying the magnetic liner tip to the upper inner lash line and slowly drag it across to the outer edge of the eyelash line. Make sure to keep the liner as close to the lash line as possible.
- Work slow and steady at first. As you master this technique, you will become faster with the application process.
- For a more bold look, create a winged effect by sweeping the liner up and slightly out past the outer lash line.
- Once you have created the magnetic line, trace over it a second time to reinforce its durability and fill in any gaps you may have missed. Remember, the lashes need a nice magnetic base to adhere to.
- Allow the liner to dry for around 15 seconds, or 80 percent, before applying the faux lashes. Perform a touch test to make sure it’s ready. It may feel a bit tacky, and that’s ok. If the liner does not transfer to your finger, then you’re ready to apply your new lashes.

Step 3 - Lash Application
Pro tip: Place a mirror right below your chin and look down into the mirror while applying lashes. This will give you a more clear view of the lash line you’re working with. (Tip: ThinkShow magnetic lash kit box with mirror)
- Carefully remove the lashes from the box and bend them slightly so that they become flexible and can contour to your eye shape more easily.
- Position yourself in front of a mirror.
- Using the lash applicator or your hand, work with one lash strip at a time. Grab the end of the lashes and line them up with the magnetic eyeliner line you just created.
- Make magnetic contact at the inner corner of your eye and attach going across to the outer corner. Make sure your natural lashes are out of the way while connecting the
- Once the lashes are in place, gently press the ends of the lashes toward the lash line to reinforce the connection and set the lashes.
- Make sure the eyelash band is securely in place by performing a gentle pull test. The lashes should not budge or disconnect from the magnetic liner.

Step 4 - Cleaning your Lashes
After each use clean the magnets on your false lashes with warm water and a cotton bud.
- Start by gently peeling any excess eyeliner off of the magnets.
- Take a cotton bud soaked in warm water and gently clean the magnets.
- Repeat these steps until the magnets are clear of any excess eyeliner.
- Place lashes back into the tray to maintain lash shape.


Leave a comment